The ultimate DIY guide to building a backyard gazebo
Picture this: it’s a beautiful summer day, the sun is shining, and the birds are chirping. You step outside into your backyard and take a deep breath of fresh air. As you look around, you notice that something is missing. There’s no place to sit and enjoy the beautiful weather. That’s when it hits you – you need a gazebo.
Gazebos have been a staple in outdoor spaces for centuries. They offer a shady spot to relax, entertain guests, and enjoy the great outdoors. But what if you don’t want to spend a fortune on a pre-built gazebo or hire a professional to construct one for you? That’s where the DIY option comes in.
Building a gazebo yourself can be a rewarding and cost-effective way to add a beautiful structure to your backyard. Not to mention, it’s a fun project that can be customized to fit your specific needs and style preferences. However, the idea of building a gazebo from scratch can be intimidating. Where do you start? What materials do you need? How long will it take?
In this article, we will break down the steps involved in building a DIY gazebo in your backyard. We’ll cover everything from choosing the right location and design, to preparing the site and constructing the foundation and frame. We’ll also discuss different roofing and siding options, as well as finishing touches that can be added to make your gazebo unique and functional.
We know that taking on a DIY project like building a gazebo can seem daunting, but we’re here to guide you through the process. We’ll provide helpful tips and tricks to make the job easier, and share our own experiences to give you an idea of what to expect.
Building a gazebo is not just about creating a functional space – it’s about creating a space that you and your loved ones will enjoy for years to come. Imagine hosting a summer barbecue with friends and family under the shelter of your very own gazebo. Or enjoying a quiet cup of coffee on a lazy Sunday morning, surrounded by the beauty of nature. The possibilities are endless.
Plus, the added value to your property is a huge bonus. Building a gazebo not only enhances the beauty of your backyard, but it can also increase your home’s resale value. It’s a win-win situation.
So, whether you’re a seasoned DIYer or a beginner looking to take on a new project, building a gazebo is a worthwhile endeavor. And with our comprehensive guide, you’ll have all the information you need to get started. So grab your tools, put on your work gloves, and let’s get building!
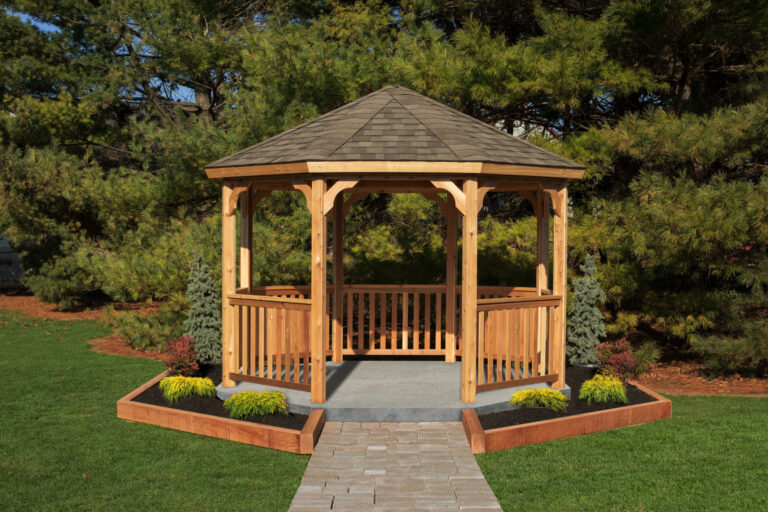
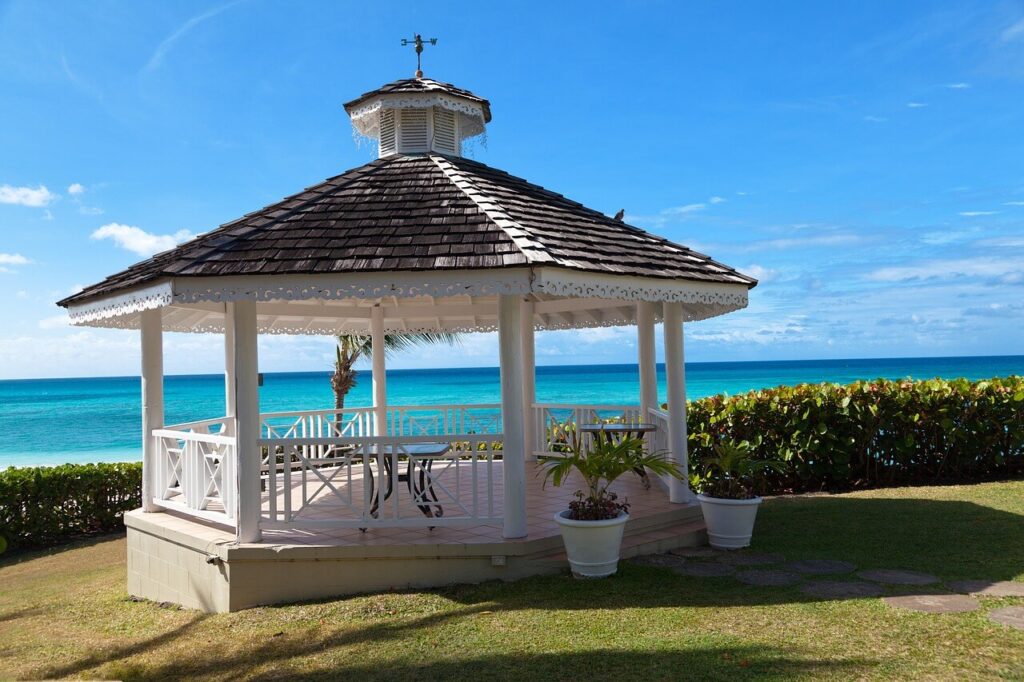
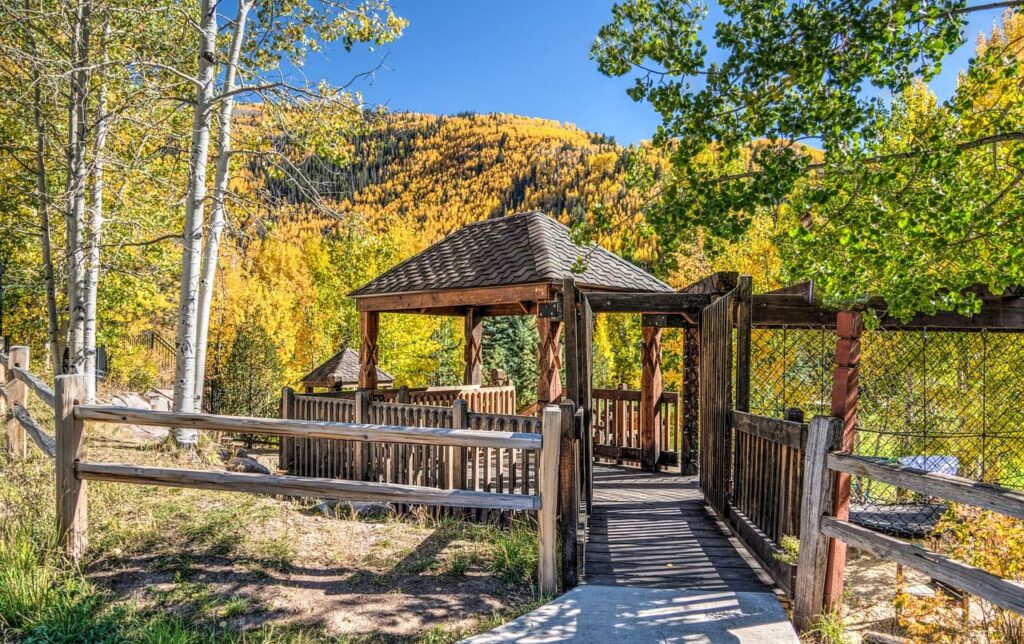
Choosing the design and location for your gazebo

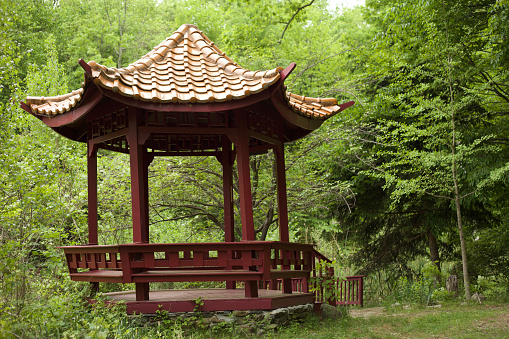
Once you’ve decided to build a gazebo, the first step is to choose a design and location that will work best for your backyard space. There are a variety of gazebo designs to choose from, ranging from classic to modern and everything in between. Some popular designs include octagonal, rectangular, and pavilion-style gazebos.
When it comes to materials, the most common options include wood, vinyl, and metal. Wood is a popular choice because it offers a classic look and can be stained or painted to match your existing outdoor decor. Vinyl and metal gazebos, on the other hand, are more durable and require less maintenance, but may not have the same natural look as a wooden gazebo.
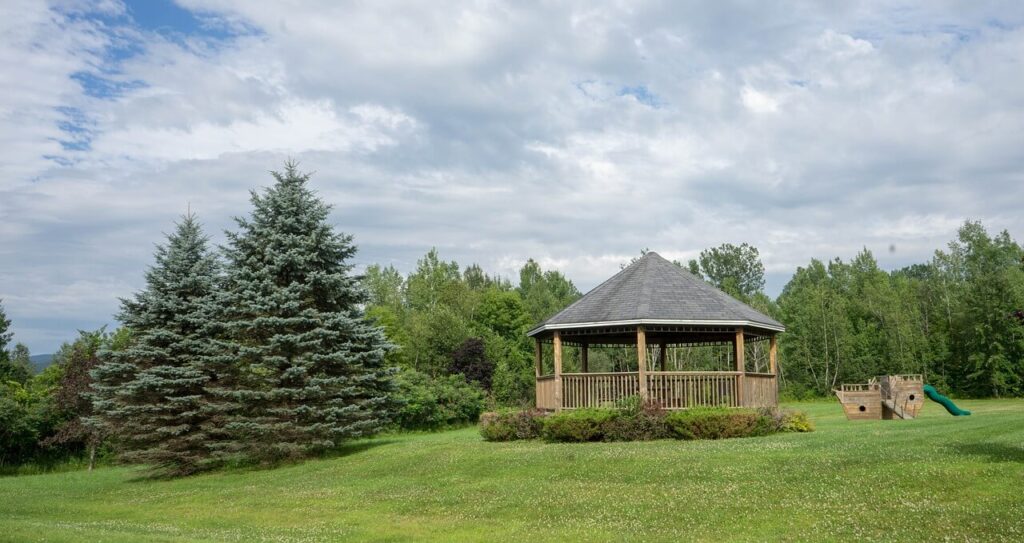
Once you’ve chosen a design and material, the next step is to choose a location in your backyard. When choosing a location, consider factors such as the size and shape of your gazebo, as well as the amount of sunlight and shade in the area. You’ll also want to ensure that the ground is level and free of any obstacles or underground utilities.
One important consideration when choosing a location is how the gazebo will fit in with the rest of your backyard space. You’ll want to make sure that it complements your existing outdoor decor and doesn’t look out of place. If you have a large backyard, consider placing the gazebo in a central location where it can be easily seen and enjoyed from different areas.
Another important factor to consider when choosing a location is privacy. If you live in a densely populated area or have neighbors close by, you may want to consider placing your gazebo in a more secluded area of your backyard. This will help create a private oasis where you can relax and unwind without worrying about prying eyes.
When it comes to placement, it’s important to consider the surrounding landscape as well. If you have trees or other natural elements in your backyard, you may want to place your gazebo in a spot that offers a clear view of these features. On the other hand, if you have a view that you’d like to block, such as a nearby road or unsightly building, you may want to place your gazebo in a location that offers more privacy.
Building the foundation
When it comes to building a gazebo in your backyard, one of the most important steps is to build a solid foundation. A sturdy foundation will ensure that your gazebo remains level and secure, even during heavy winds and rain. In this article, we’ll discuss the different types of foundations that are available for your gazebo, and we’ll explain how to build a foundation using either a concrete slab or pavers.
Different Types of Foundations
There are several different types of foundations that you can choose for your gazebo. The type of foundation you choose will depend on the size of your gazebo, the soil conditions in your backyard, and your personal preferences. Here are some of the most common types of foundations:
Concrete Slab: A concrete slab is a popular choice for a gazebo foundation because it is strong, durable, and long-lasting. To build a concrete slab, you’ll need to dig a hole that is slightly larger than the size of your gazebo. Then, you’ll need to fill the hole with concrete and allow it to dry before you begin building the rest of your gazebo.
Pavers: Pavers are another popular choice for a gazebo foundation because they are easy to install and can be adjusted if necessary. To build a foundation using pavers, you’ll need to dig a hole that is slightly larger than the size of your gazebo. Then, you’ll need to lay a layer of sand or gravel in the hole and arrange the pavers on top. Make sure that the pavers are level and secure before you begin building the rest of your gazebo.
Deck Blocks: Deck blocks are a good choice for a smaller gazebo or a gazebo that is not intended to be permanent. Deck blocks are essentially precast concrete blocks that are designed to support a wooden frame. To build a foundation using deck blocks, you’ll need to place the blocks in a grid pattern, ensuring that they are level and evenly spaced. Then, you can begin building the wooden frame on top of the blocks.
Building a Foundation
Once you’ve chosen the type of foundation that you want to build, it’s time to get started. Here are some steps that you can follow to build a foundation using either a concrete slab or pavers:
Pouring a Concrete Slab:
- Mark the area where you want to build your gazebo using stakes and string.
- Use a shovel or a backhoe to dig a hole that is slightly larger than the size of your gazebo.
- Place a layer of gravel in the bottom of the hole to provide drainage.
- Create a form for the concrete slab using wooden boards. Make sure that the form is level and secure.
- Mix the concrete according to the instructions on the bag.
- Pour the concrete into the form and smooth it out using a trowel.
- Allow the concrete to dry for at least 24 hours before you begin building the rest of your gazebo.
Laying Pavers:
- Mark the area where you want to build your gazebo using stakes and string.
- Use a shovel or a backhoe to dig a hole that is slightly larger than the size of your gazebo.
- Place a layer of sand or gravel in the bottom of the hole to provide drainage.
- Arrange the pavers on top of the sand or gravel, making sure that they are level and evenly spaced.
- Use a rubber mallet to tap the pavers into place.
- Add additional layers of sand or gravel between the pavers to provide stability.
- Use a level to ensure that the pavers are even.
Construct the frame
After choosing the location and laying the foundation for your gazebo, the next step is to construct the frame. This is an important step that requires precision and careful planning. In this article, we will discuss how to build the frame of the gazebo, including cutting the posts and beams, and how to secure the frame to the foundation.
The first step in building the frame of your gazebo is to measure and cut the posts and beams. The size of the posts and beams will depend on the design of your gazebo and the size of the structure. For example, if you have a larger gazebo, you will need larger posts and beams to support the weight of the roof and any additional features such as lighting.
When cutting the posts and beams, it is important to make sure they are all the same length and are cut at a 90-degree angle. This will ensure that the structure is square and will make it easier to install the roof and any additional features. You can use a circular saw or a miter saw to cut the posts and beams to the desired length.
Once the posts and beams have been cut, it is time to secure them to the foundation. One way to do this is to use metal brackets that are designed for this purpose. These brackets are typically made of galvanized steel and can be attached to the posts and the foundation using screws or bolts. They provide a strong and stable connection between the frame and the foundation.
Another way to secure the frame to the foundation is to use anchor bolts. Anchor bolts are long, threaded rods that are embedded in the foundation and protrude above the surface. The posts can then be placed over the bolts and secured in place using nuts and washers. This method is particularly useful if you are using a concrete foundation.
When securing the frame to the foundation, it is important to make sure that the posts are level and plumb. This will ensure that the structure is stable and will prevent it from leaning or collapsing. To check the level and plumb of the posts, use a spirit level and adjust the position of the posts as necessary.
Finally, it is important to make sure that the posts and beams are spaced evenly and are properly aligned. This will ensure that the structure is symmetrical and will make it easier to install the roof and any additional features. You can use a string line or a laser level to ensure that the posts and beams are properly aligned.
Roofing
Once you have constructed the frame of your gazebo, the next step is to add the roof and siding. This is a crucial step as it not only adds aesthetic value to your gazebo but also provides protection from the elements. In this article, we will discuss different types of roofs and how to choose the right one for your gazebo, as well as how to install the roof and any siding or trim.
Roof Types: There are several types of roofs to choose from when it comes to a gazebo. One of the most popular types is the traditional gable roof, which has two sloping sides that meet at a ridge. This type of roof is simple and easy to construct, and provides ample protection from the rain.
Another popular option is the hip roof, which has four sloping sides that meet at a ridge. This type of roof is more complex to construct than a gable roof, but it provides better protection from wind and rain.
Flat roofs are also an option, but they require more maintenance than sloped roofs, as debris can collect on the surface and cause damage over time. Finally, if you want to add a touch of elegance to your gazebo, a dome or arched roof may be the way to go.
Installing the Roof: Once you have decided on the type of roof you want for your gazebo, the next step is to install it. Start by measuring and cutting the rafters to the correct length, and then secure them to the frame using brackets or nails.
Next, add the roof decking, which can be made from plywood or other materials. Make sure the decking is properly aligned and secured to the rafters.
Once the decking is in place, you can install the roofing material. This can be shingles, metal panels, or even thatch, depending on your preferences and the style of your gazebo. If you are using shingles, start at the bottom of the roof and work your way up, overlapping each row as you go. Make sure the shingles are properly aligned and secured in place.
Adding Siding and Trim: If you want to add siding to your gazebo, there are several options available. Wood siding is a popular choice, as it is durable and easy to work with. Other options include vinyl and aluminum siding, which are low-maintenance and come in a variety of colors and styles.
Once you have chosen your siding material, measure and cut the pieces to the correct size, and then install them on the frame of the gazebo. Make sure the siding is properly aligned and secured in place.
Finally, add any trim or decorative elements to the gazebo. This can include moldings, brackets, or decorative posts. Make sure the trim is properly aligned and secured in place.
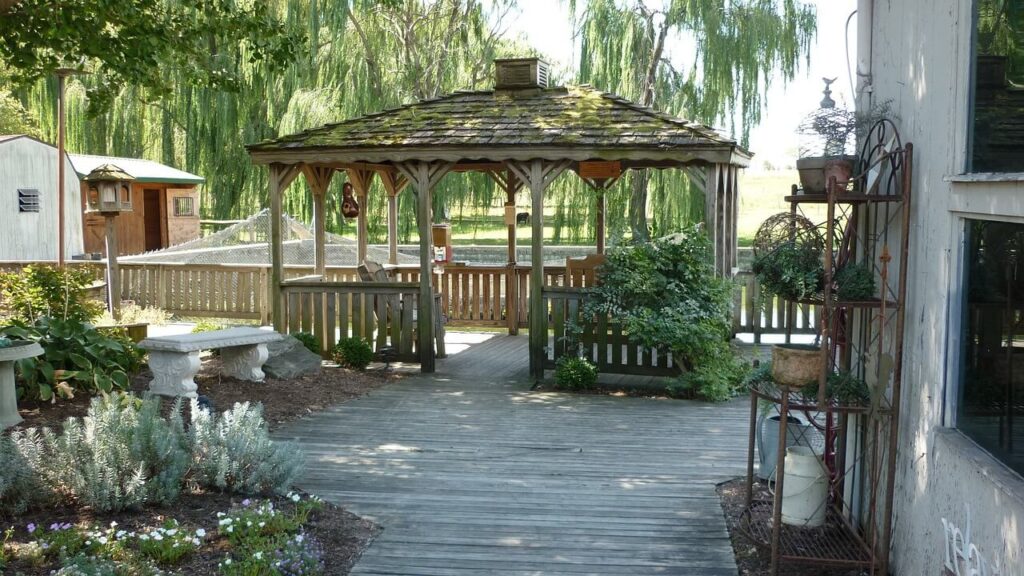
Adding the finishing Touches
Once the roof and siding are installed on your gazebo, it’s time to add those final touches that will really make it shine. From landscaping to lighting, there are plenty of finishing touches that can be added to your gazebo to make it a true oasis in your backyard.
Landscaping is one of the most important finishing touches for your gazebo. By adding plants and flowers around the structure, you can create a more natural and inviting atmosphere. Choose plants that will complement the style of your gazebo and the surrounding landscape. For example, if you have a rustic wooden gazebo, consider planting wildflowers or tall grasses to create a more natural feel. If your gazebo has a more modern design, consider planting succulents or ornamental grasses for a more minimalist look.
Another great way to add a personal touch to your gazebo is with lighting. Adding string lights or lanterns can create a warm and inviting atmosphere that’s perfect for entertaining or relaxing. Solar-powered lights are a great option for those who want to save on electricity, and they’re also environmentally friendly. If you have a covered gazebo, consider adding recessed lighting or a ceiling fan to create a more comfortable environment during the hot summer months.
Finally, staining or painting your gazebo can not only add a pop of color but also protect the wood from the elements. Before painting or staining your gazebo, make sure to clean it thoroughly with soap and water to remove any dirt or debris. If you’re painting, use a primer first to ensure that the paint adheres properly. When staining, choose a color that complements the surrounding landscape and the style of your gazebo. Be sure to apply at least two coats of stain or paint for maximum protection.
When it comes to finishing touches for your gazebo, the possibilities are endless. Adding landscaping, lighting, and a fresh coat of paint or stain can really transform your gazebo into a beautiful and functional outdoor space that you and your family can enjoy for years to come.
Pro Tips
When it comes to putting the finishing touches on your gazebo, there are many outdoor decor options to consider. A well-planned garden design can truly elevate your gazebo’s ambiance and make it a standout feature in your backyard. To enhance the space, consider incorporating exterior lighting such as solar-powered or LED lights. Not only do they provide practical illumination for nighttime use, but they also add a cozy and inviting atmosphere. Working with a landscape architect or horticulturist can help you select the perfect plants and greenery to complement your gazebo’s design and surrounding environment. Using the right paint color palette is another important consideration, not just for aesthetics, but also for wood preservation. Coating materials such as waterproofing agents and UV protection sprays can ensure the longevity of your gazebo. Proper erosion control and a well-designed drainage system are also crucial to prevent any soil or water from damaging the gazebo’s foundation. Don’t forget about other decorative elements like garden sculptures or patio furniture, which can help create the perfect seating arrangement for outdoor entertainment. Artificial turf can also provide a low-maintenance and durable option for the area around your gazebo. By considering all of these factors and incorporating them into your gazebo’s finishing touches, you can create a truly personalized and beautiful outdoor space for years to come.